Do you want to add some cool Spotify features to your website, such as displaying your current playing song, creating a custom music player, or showing off your playlists? If so, you will need to use the Spotify Web API, which lets you access and manipulate Spotify data. However, the Spotify Web API requires authentication and authorization from both you and your users, which means you will need to get an access token and a refresh token for each user. This can be tricky and risky if you don’t do it right. In this blog post, I will show you how you can generate refresh tokens for the Spotify Web API using only your browser and a few lines of code. All you need is:
- A registered application on the Spotify Developer Dashboard
- A web browser with developer tools enabled
- Node.js
Ready? Let’s get started!
Prepare your Spotify application #
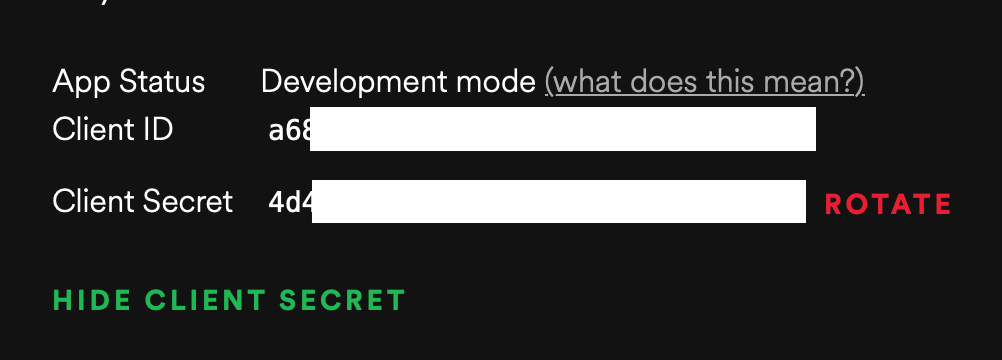
Assuming you already have a registered application on the Spotify Developer Dashboard, you will need to save the Client ID and Client Secret from the Overview page somewhere safe for the next step.
They will look like this:

You will also need to change the Redirect URIs in the application settings to http://localhost:3000/callback.
Know the appropriate scopes #
The scopes you need depend on the API you want to use. Each API has a specific scope that grants access to it. You can find a list of scopes and their corresponding APIs here.
Create a local server to get the generated refresh token #
- Save the code snippet below as
get-token.js
const express = require('express')
const axios = require('axios')
const cors = require('cors')

const app = express()
app.use(cors())

CLIENT_ID = '<your client id>'
CLIENT_SECRET = '<your client secret>'
REDIRECT_URI = 'http://localhost:3000/callback' // my case is 'http://localhost:3000/callback'
SCOPE = ['user-read-currently-playing'] // add the scopes you will need for your API calls

app.get('/login', (request, response) => {
  const redirect_url = `https://accounts.spotify.com/authorize?response_type=code&client_id=${CLIENT_ID}&scope=${SCOPE}&state=123456&redirect_uri=${REDIRECT_URI}&prompt=consent`
  response.redirect(redirect_url)
})

app.get('/callback', async (request, response) => {
  const code = request.query['code']
  await axios
    .post(
      (url = 'https://accounts.spotify.com/api/token'),
      (data = new URLSearchParams({
        grant_type: 'authorization_code',
        redirect_uri: REDIRECT_URI,
        code: code,
      })),
      (config = {
        headers: {
          'Content-Type': 'application/x-www-form-urlencoded',
        },
        params: {
          grant_type: 'client_credentials',
        },
        auth: {
          username: CLIENT_ID,
          password: CLIENT_SECRET,
        },
      })
    )
    .then(resp1 => {
      axios
        .post(
          (url = 'https://accounts.spotify.com/api/token'),
          (data = new URLSearchParams({
            grant_type: 'refresh_token',
            refresh_token: resp1.data.refresh_token,
            access_token: resp1.data.access_token,
          })),
          (config = {
            auth: {
              username: CLIENT_ID,
              password: CLIENT_SECRET,
            },
          })
        )
        .then(resp2 => {
          return response.send(JSON.stringify([resp1.data, resp2.data]))
        })
    })
})
// your port of REDIRECT_URI
app.listen(3000, () => {
  console.log('Listening on :3000')
})- Go to the directory where you saved your
get-token.js. Run the following command:
npm install express axios cors- Run the local server:
node get-token.js- Open your browser and enter this address
http://localhost:3000/login. You will get your tokens as an array result from two API calls: the first one is to get an access token and refresh token, and the second one is to grant the refresh token.
Tip
There you go. You finally have your refresh token for your website. You can continue to implement Spotify on your website now, which I also have an example of in Using Spotify API with Vite and Cloudflare Workers. Feel free to check it out.